
F6 CLASS
LEAK TEST INSTRUMENT FOR INDUSTRIAL QUALITY CONTROL
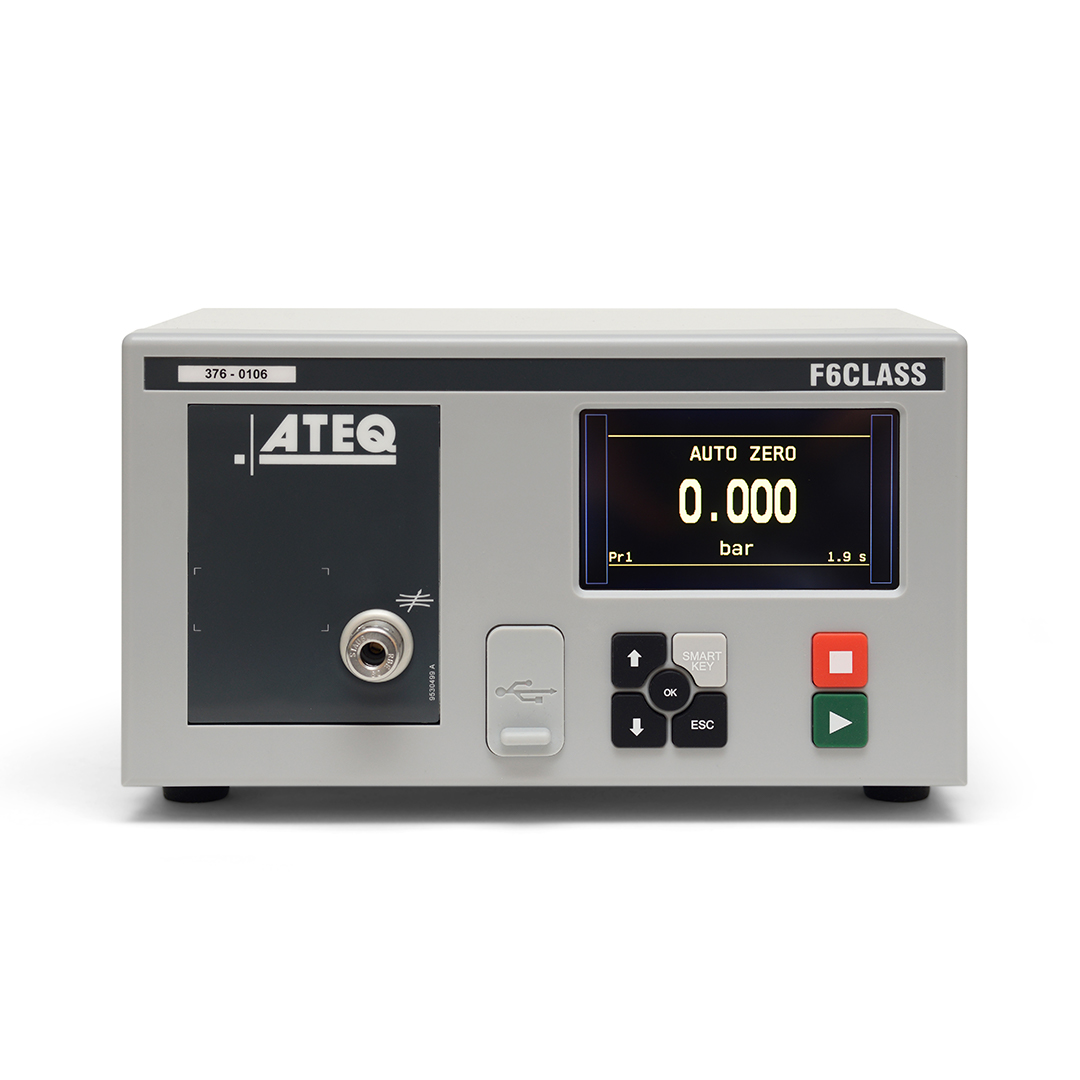
After 50 years, and 275,000 testers installed in more than 5,000 customers worldwide, ATEQ presents its new leak tester: F6CLASS.
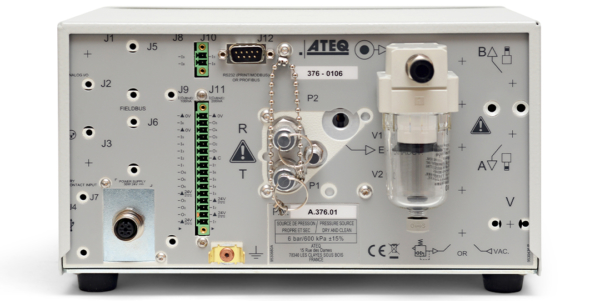
New electronic module, new measurement module, new interface, new accessories…
All has been made to improve your quality control. And yet, inside can be found the latest leak testing technics and technology that will guarantee you the fastest and most accurate leak testing cycle on the market for an entry level tester.
F6 CLASS : APPLICATIONS
F620 : FEATURES
- Differential pressure decay leak measurement
- 16 programs
- Setting on line (via USB)
- 2 languages (English + other one)
- Manual calibration on front panel with calibrated leak
- Data storage on internal memory or USB key
TEST MODES :
- ∆P (Pa, 1/10 Pa)
- ∆P/t (Pa/s, 1/10 Pa/s)
- Flow units (sccm, mm3/s, cm3/s, cm3/min, cm3/h…)
ENVIRONMENT :
ROHS standard
FLEXIBLE COMMUNICATION FORMAT :
- RS232: printer, modbus RTU
- Slave USB: PC supervision (WinAteq 300, sesame)
- Master USB: USB key to transfert (parameters, results, …)

MEASUREMENT CHARACTERISTICS :
| PRESSURE DROP MEASUREMENT |
|---|
| Range | Accuracy up to* | Max. Resolution |
|---|---|---|
| 0 – 500 pA | ± (1.0 % Reading + 1.0 Pa) | 0.1 Pa |
| TEST PRESSURE MEASUREMENT |
|---|
| Range | Accuracy up to* | Max. Resolution |
|---|---|---|
| -1 < F.S. < 1 bar | ± (1.5 % Reading + 3 hPa) | 0.1% F.S. |
| 1 < F.S. < 5 bar | ± (1.5 % Reading + 7.5 hPa) | 0.1% F.S. |
| -5 < F.S. < 10 bar | ± (1.5 % Reading + 15 hPa) | 0.1% F.S. |
Accuracy: linearity + repeatability + hysteresis *Optional laboratory accuracy **Maximum Test Pressure 3 bar
F6 CLASS : SPECIFICATIONS
F6 CLASS : OPTIONS
- Auto-fill or electronic regulator
- 2 pneumatics outputs for control of sealing connectors
F6 CLASS : TECHNOLOGY
By far the most popular technology, differential pressure decay uses a reference volume to test your part. This helps compensate for any ambient pressure or temperature variations as they occur on both parts simultaneously.
Only a leak on the test part will result in a movement of our transducer’s membrane.
The second advantage of this method is that the accuracy does not drop with the test pressure as the transducer is measuring pressure differences between the two circuits, as opposed to the traditional pressure decay technology that measures pressure drops against the atmosphere.
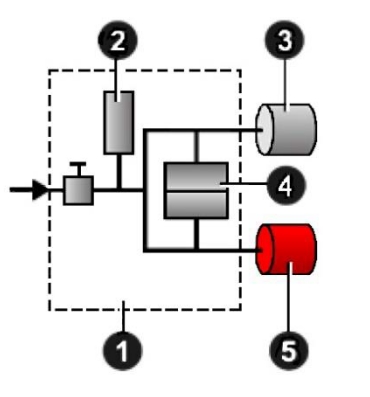
Direct measurement principle
The part under test 3 and the reference part 5 are filled to an identical pressure. A differential sensor 4 measures the pressure variation between the part under test 3 and the reference part 5. In some applications, the reference part can be replaced by a cap.

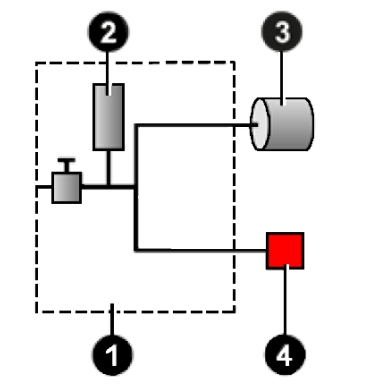
Desensitized test
This mode is used for the measurement of large leaks, when the reject level required is above the full scale of the differential sensor.
The test pressure is applied to the input of the part under test 3. The measurement is performed by the pressure sensor 2.
Other type of tests are available in option

F6 CLASS : DOCUMENTATION

